
![]() Power BI allows you to create rich, interactive and informative reports. But it is also a massive pain to create beautiful yet functional reports with Power BI. Over the last 12 months of heavy usage, I have picked up a few tricks to speed up my Power BI report design time. In this post, let me share my top Power BI design tips for creating pretty reports.
Power BI allows you to create rich, interactive and informative reports. But it is also a massive pain to create beautiful yet functional reports with Power BI. Over the last 12 months of heavy usage, I have picked up a few tricks to speed up my Power BI report design time. In this post, let me share my top Power BI design tips for creating pretty reports.
This post is part of our Power Mondays series, where every Monday I discuss Power BI, Power Query and Power Pivot.

Tip 1: Use Alignment Tools
A good design should have balance and perfect alignment. Do you know that Power BI has alignment and distribution tools? Just select all the visuals you need to align (CTRL + Click on each visual) and use Format Ribbon to adjust their left / top / mid whatever else you fancy.

Tip 2: Adjust multiple visuals in one go
When you multi-select visuals (using CTRL+Click), you can also adjust their properties in one shot. After multi-selecting, just head to properties area and adjust what you want. In most cases your new settings will apply to all visuals.
Pro tip: use this to make all visuals same size.

Tip 3: Use Themes
Let’s be frank. The default color scheme of Power BI is pretty boring. It looks like someone washed your report in a front-loaded washing machine with cheap detergent.
The fix is rather simple. Just import a peppy, colorful theme and your visuals will don fresh coat of paint and look wow. Use the Switch theme from Home ribbon to import new theme to your report.

Note: When importing themes, pay attention to usability and contrast between colors. Try a few and pick the one that looks good and conveys better.
You can download free themes from Microsoft Power BI theme gallery. If you are adventurous, you can even make themes from the nifty Power BI theme-maker
4. Format faster with search
Over time, Power BI format options for visuals has grown like a beautiful but tangled shrub in spring. On top, there is an ocassional re-org, so your favorite property to adjust something is now suddenly in a new group. With monthly updates, it all gets very hard to keep pace of these changes and new features.
Worry not. Just google the visual format properties, using the Search box. See this simple demo.

5. Use images & shapes to add wow factor
Power BI is like a fancy restaurant with 100s of main courses (charts, slicers, tables etc.) but only one type of side course of vertically sliced & deep fried potatoes (shapes). How else can you explain the mammoth variety of visuals and puny selection of shapes? Oh you want a shape? What is it – a rectangle, oval, triangle, line or arrow? What you want dodecagon? Go make one with XY plot you crazy nerd.
But you can creatively combine images, text boxes and shapes to get pretty much what you want. So to overcome the design limitations of the visuals, use images + shapes often.

Bonus tip: Steal Borrow Inspire from others
Good design sense is a valuable skill. While there is some art in it, most of it can be learned. Take inspiration from giants. Like that fancy report your colleague in Payroll made? Take her out to a coffee and find out how it was put together. If you have no one else to turn to, check out the Power BI data stories gallery by Microsoft. Some of the showcased ones are pretty neat and inspiring. Copy the ideas to your own work and shine.
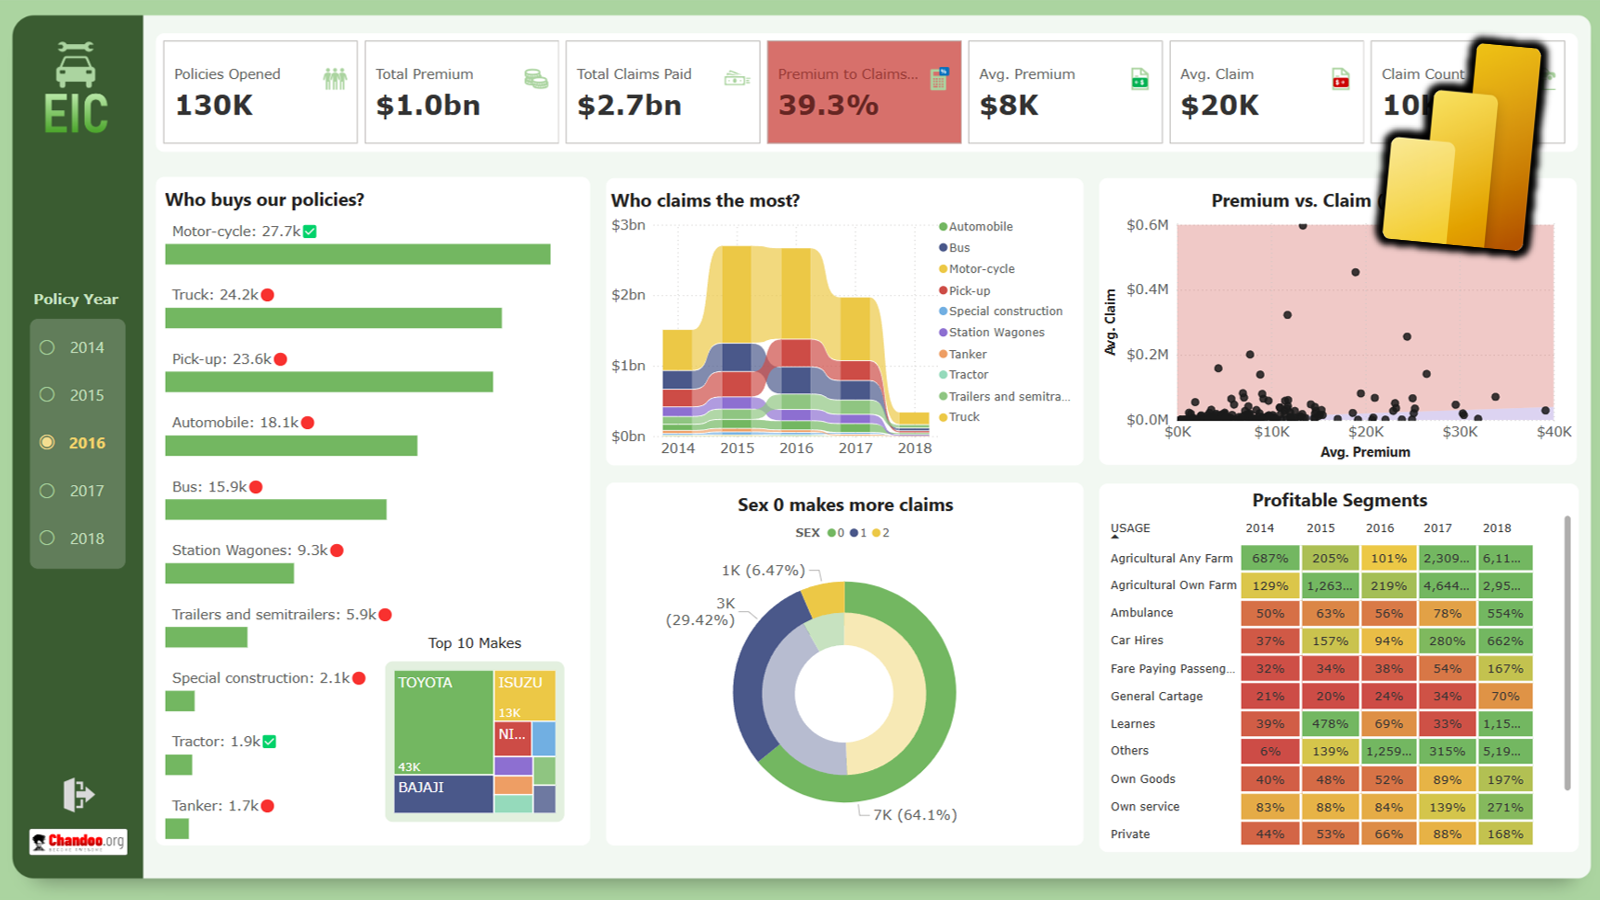
Inception time – a Power BI visual about visual tips
Ready for some mind-bending action? Here is a Power BI report I made about my top 5 tips for creating beautiful visuals. Check it out below (or online here)
What is your favorite tip for creating pretty things in Power BI?
Your turn.
What is your favorite Power BI tip for making good looking visuals? Share it in the comments section. Let me steal borrow inspire.
More inspiration:
Power BI visuals for you to learn from,


4 Responses to “My top 5 tips for designing beautiful Power BI reports”
Very good article, keep up the good work!
Great tip. I have to remember to make use of alignment tool.
Few that I use.
1. Use Book Mark linked to Shapes for quick toggle between different views.
2. If report is designed for specific screen (like wall monitor). Then you can use Custom page size setting for optimum layout for that monitor. Normally leave it at 16:9
3. Use shapes to beautify layout. Using "Selection Pane" to control which objects are displayed (for ease of selecting/moving multi-layer objects). It's especially useful in aligning edges of various objects (by masking slight mismatch).
Interesting post, thanks.
And congratulations for the site.
I'm italian, I've been working with Excel for twenty years, I have an amateur blog on the most advanced aspects of Excel, but I think I still have a lot to learn. bye
Excellent Article Sir!